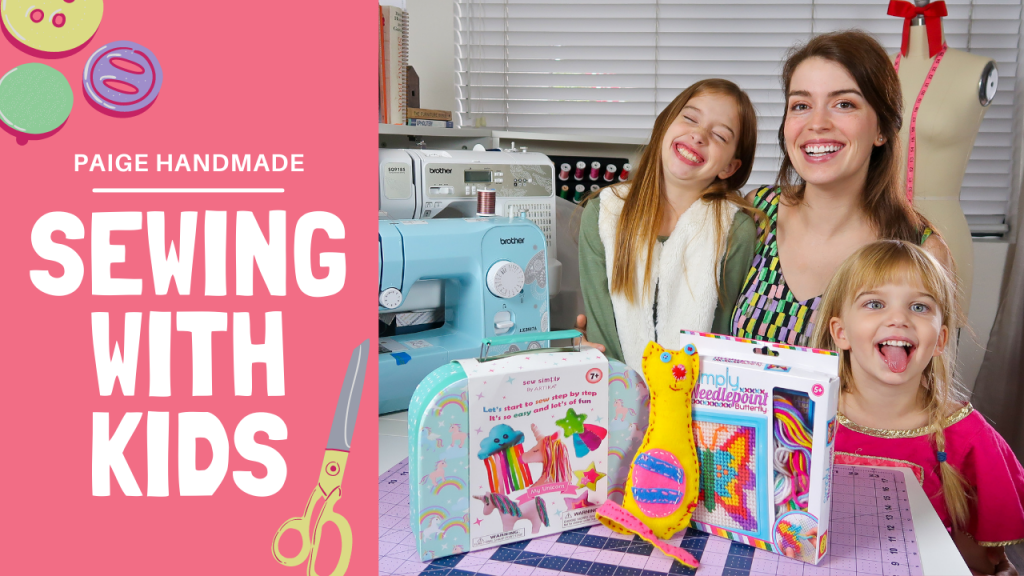
In this free mini-course I will show you a few ways to teach children how to sew. I break down the strategies by age group, toddlers, little kids, big kids, and preteens. In the beginning stages you teach very basic skills. You slowly add in techniques and increase the difficulty of the task you are asking them to practice.
I’ll start off by saying that you don’t have to start teaching at the toddler stage. You can begin at any age. As you know your child best, choose the task that best fits their patience level and abilities. I started teaching my daughters how to sew when they could handle a plastic needle safely. They saw me sewing, knitting, or crocheting consistently, so their curiosity was piqued very early. I had to come up with age appropriate projects that were both engaging and achievable.
We have had a lot of fun practicing our skills with little projects over the years. I’ll show you some of those projects and demonstrate how to teach the techniques for each stage. Again, you can adjust the projects to what you feel is appropriate for your child. My outline is a general guide, not a rule.
Let’s begin!
TODDLERS: 2-4 YEARS
The toddler years are for sewing preschool. In this stage we introduce the tools, concepts, techniques, and creativity. The skill ability will vary greatly at this stage. The amount of time necessary for mastery will vary too. Have patience and encourage them as they develop new skills.
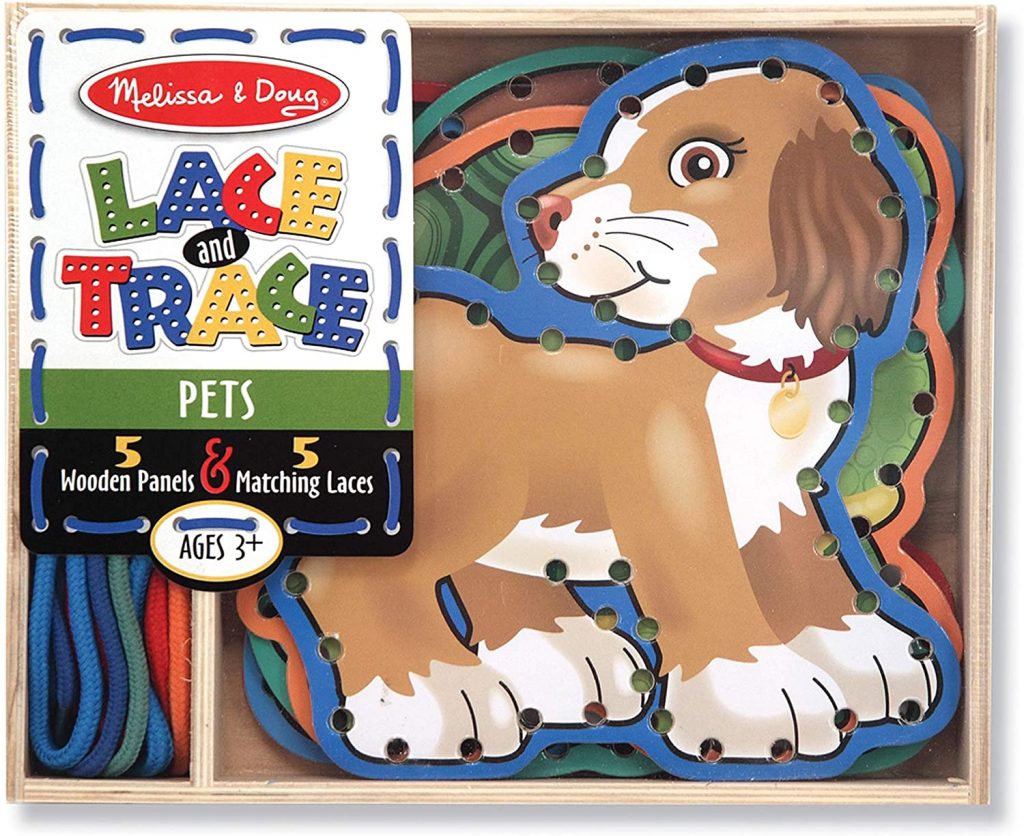
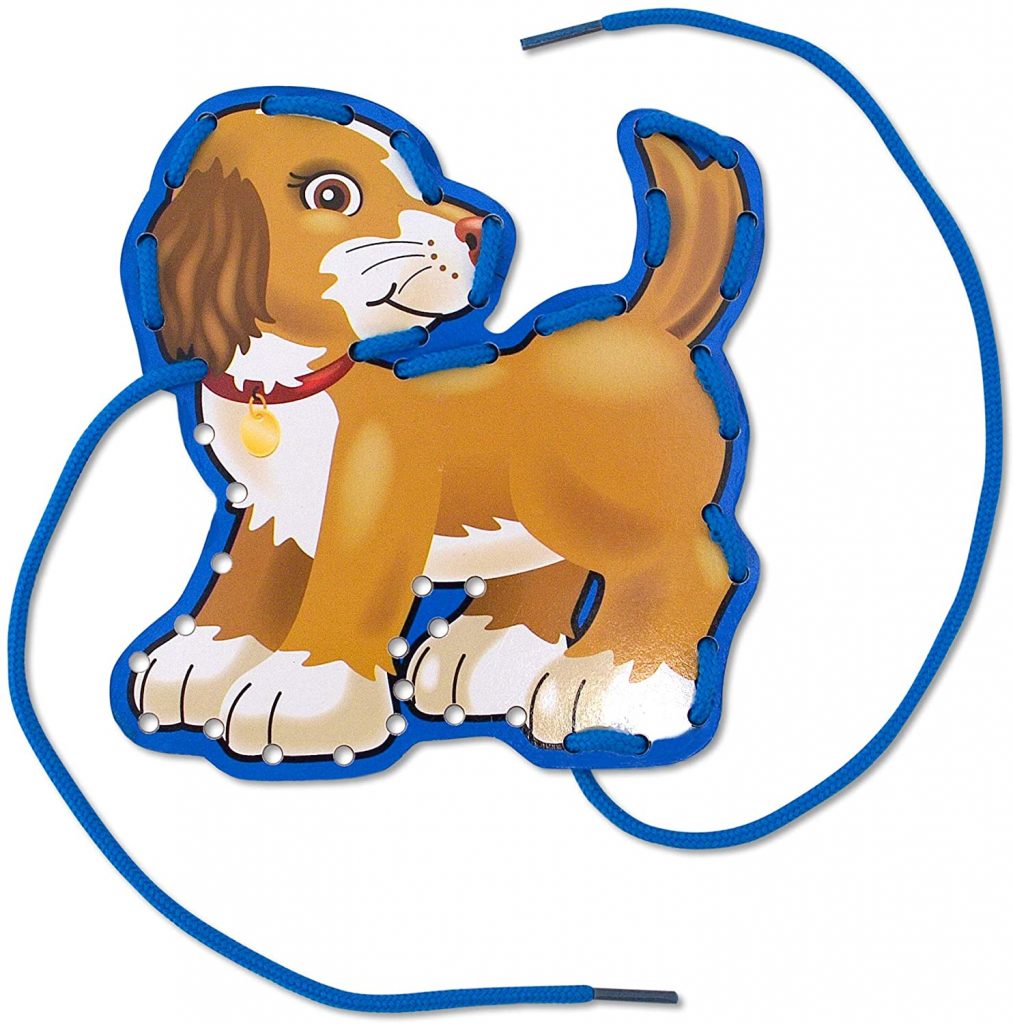
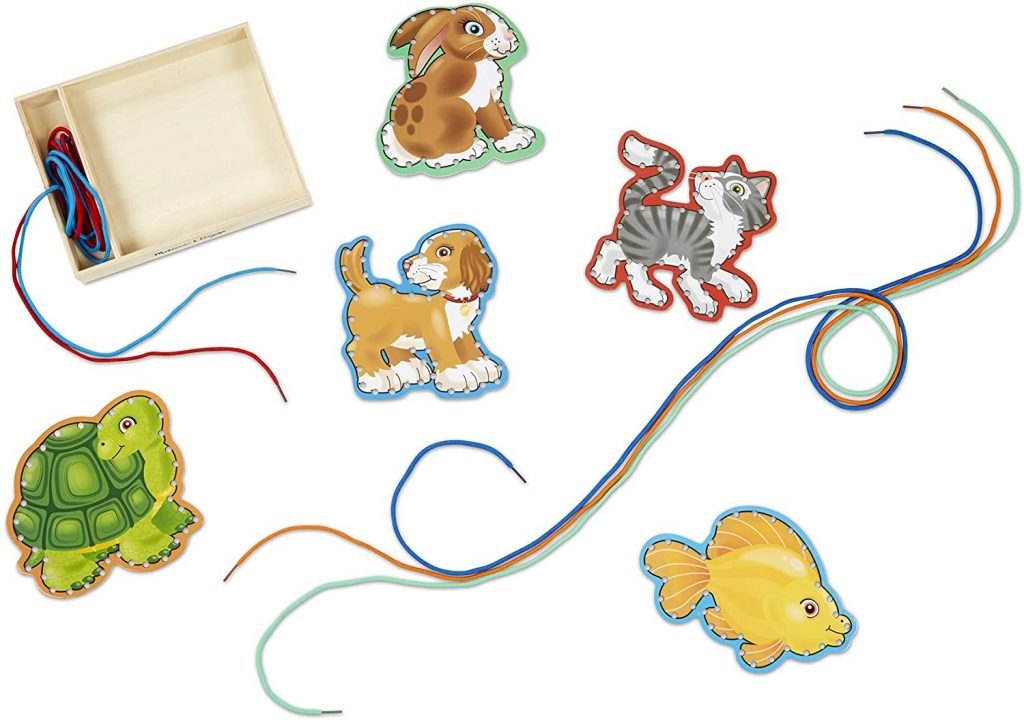
Sewing with Shoe Laces: A shoe lace is a perfect introduction to a needle and thread for a 2 year old. The plastic coating at the end of the lace functions as the needle, but it won’t poke them or slide off like a plastic needle will. The thickness of the lace is easy for them to pinch between their fingertips. This Lace & Trace kit has so much learning potential. Here are examples of what you can teach with this kit…
- hand-eye coordination by pushing the end of the lace through the holes
- pulling the lace far enough through the holes to maintain the working end of the “thread”
- making a “running stitch” by sewing in an over-under pattern without wrapping around the edge
- making a “whip stitch” by sewing under and around the edge
- matching the lace to the border of the animal
- sewing around the entire perimeter of the project
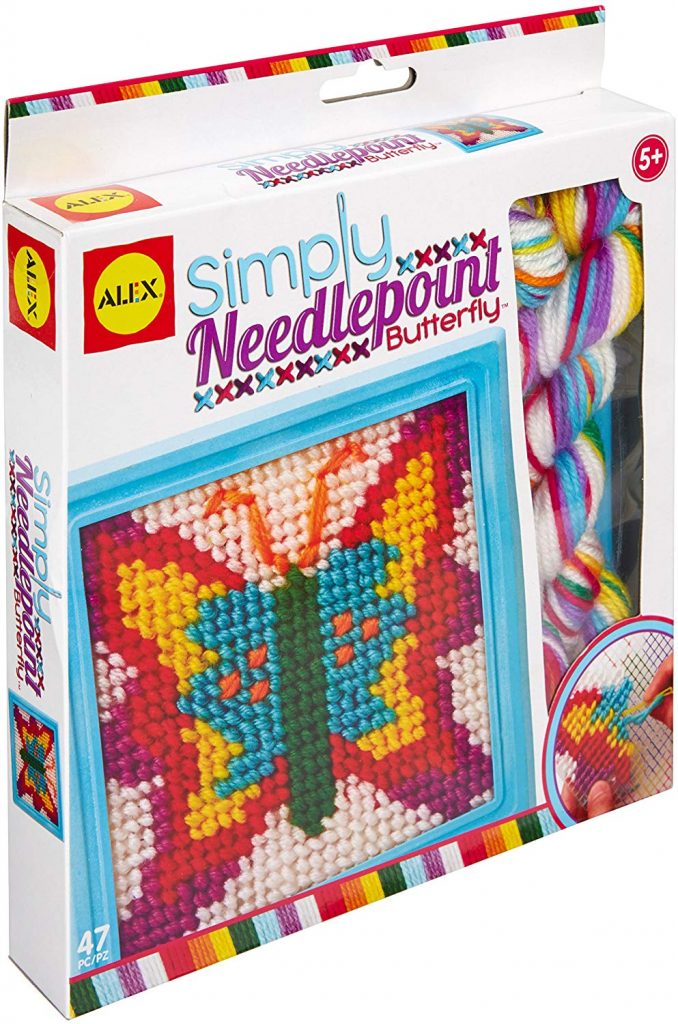
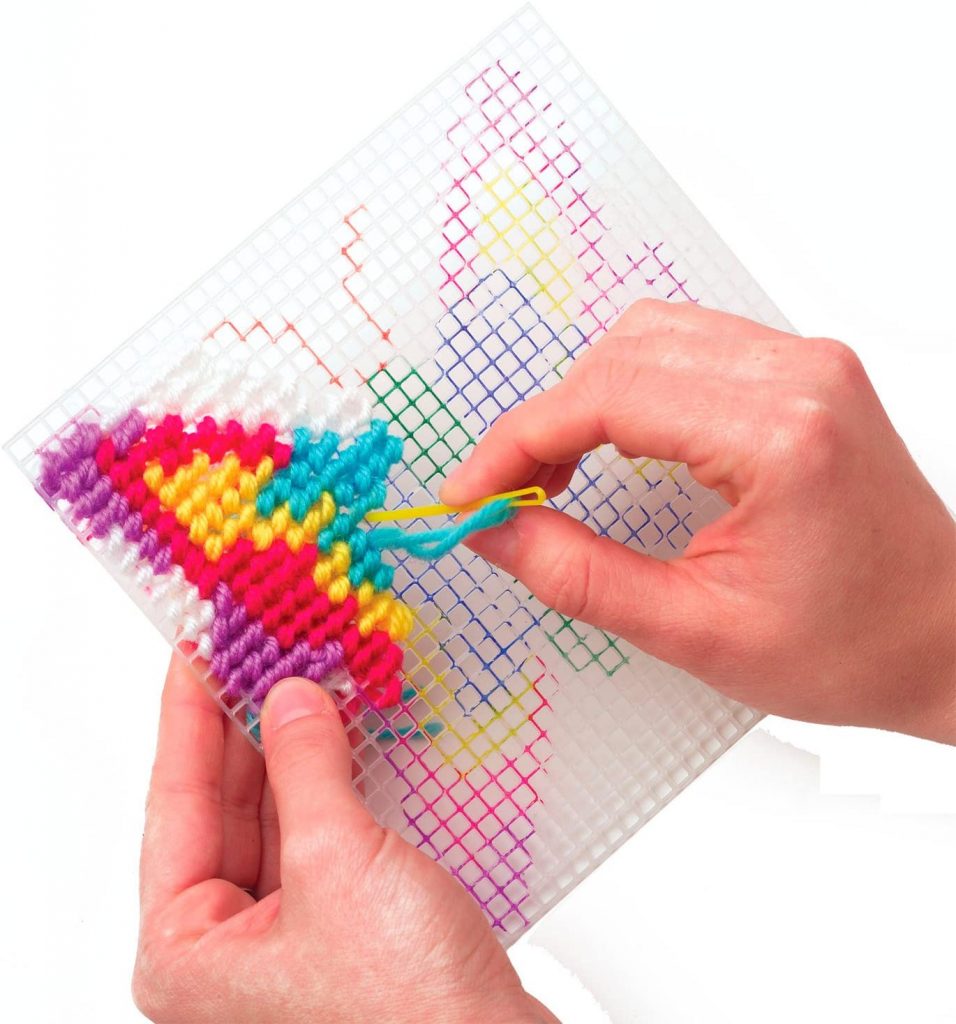
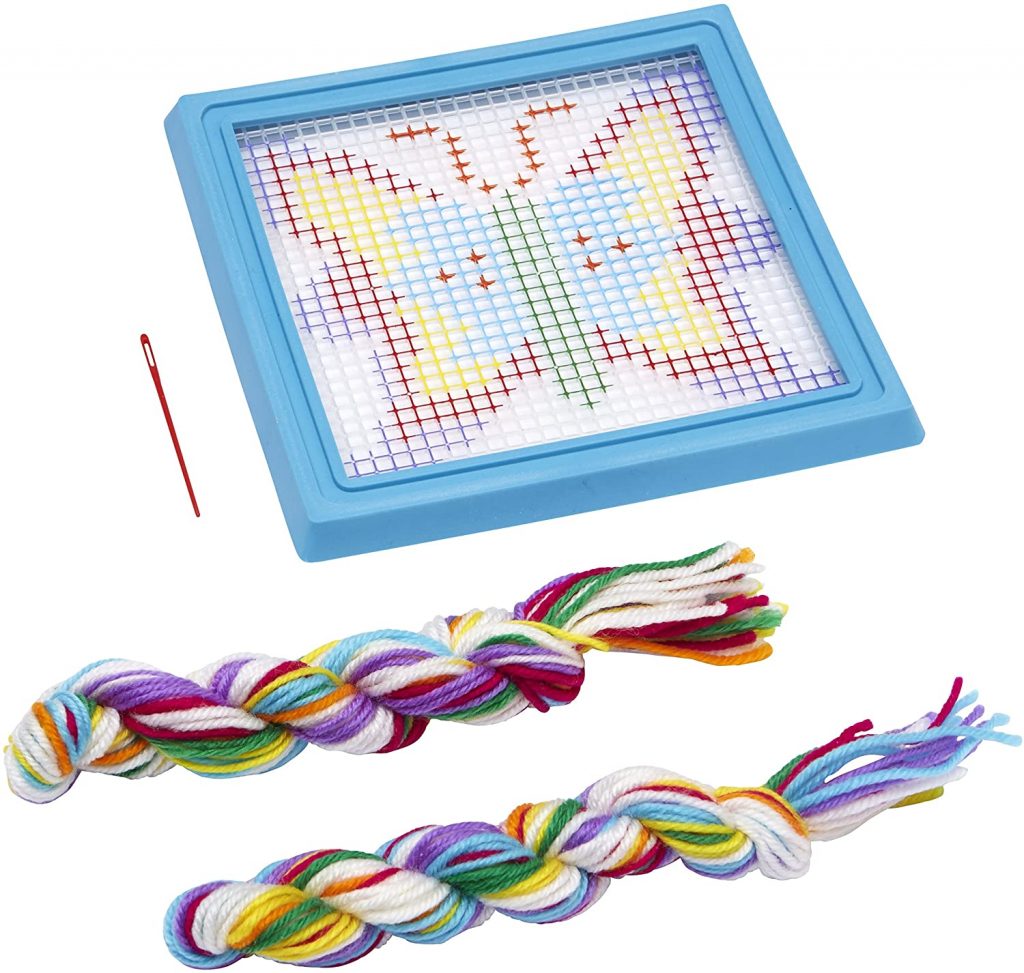
The Plastic Needle: When a child can safely hold a pointy object the plastic needle can be introduced. It is sharp without being too dangerous. *It is a choking and eye-poking hazard, but if it gets lost in the carpet it won’t poke through your foot. Just thinking like a mom.* The plastic needle can be used with plastic canvas to create needlework projects. The needlepoint kit above is cute, but it won’t look like this if a 4 year old does it alone. You can see on the box that it is recommended for age 5+, but I introduced this project earlier and cut the yarn into shorter, more manageable lengths. You will likely need to re-thread the needle repeatedly. If the design is not marked on the plastic canvas I mark the design, one color at a time, with a sharpie. Here are some coaching tips…
- teach them to pinch the yarn that is running through the eye of the needle when they pull the yarn through so the needle stays on the yarn
- show them how to stitch down into the front of the canvas and then up from back of the canvas to avoid wrapping around the edges
- start with a simple design like a small square or lines
- allow them to exercise their creativity and freely practice
- give them a manageable length of yarn to avoid knots
LITTLE KIDS: 5-7 YEARS
The sewing goal in the “little kid” years is to master the needle and follow a design. Metaphorically speaking, the toddler learned to “walk” and now the little kid learns how to “run”. Creativity will really begin to blossom and you will get to enjoy seeing what your child comes up with.


First Metal Needle: After the child has learned how to stitch with a plastic needle and plastic canvas you can upgrade to a metal needle and Aida cloth. There are cross stitching kits out there, but I recommend making your own. You want to start them using a blunt tip metal needle. A poke from one of these could be uncomfortable, but it won’t easily pierce the skin. The Aida cloth is a starched-cotton, open-weave fabric that is used for cross stitch. It is a good cloth to use with the larger needle size because it has little open holes in the weave of the fabric. When picking an embroidery hoop I would recommend a wood/bamboo hoop as opposed to a plastic hoop. The plastic hoops just don’t grip the fabric well in my experience. Finally, for the threads I like pearl cotton best for kids. 6-stranded embroidery floss is a little more difficult to use for kids and the knots are harder to undo. Tips for this stage…
- check out the supplies in person at your local craft store and let your children pick out their favorite color threads
- let the child draw their own design (heart/flower/name) on their cloth with an erasable fabric marker
- turn their design into an ornament to give or display during the holidays
- don’t expect perfection
- remember that nothing is wasted while learning
- keep the unfinished project in a little basket when they get bored and wait for another burst of creative energy
- learn new embroidery stitches together
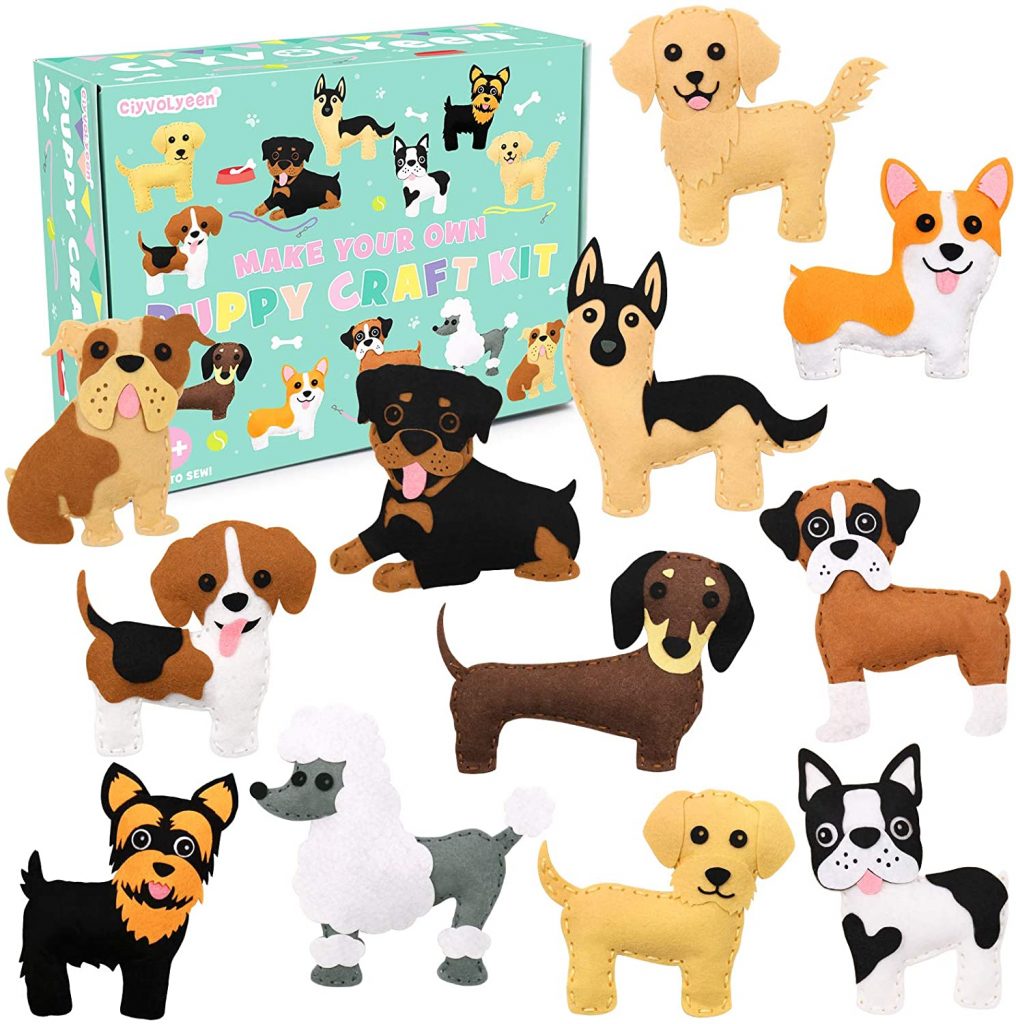
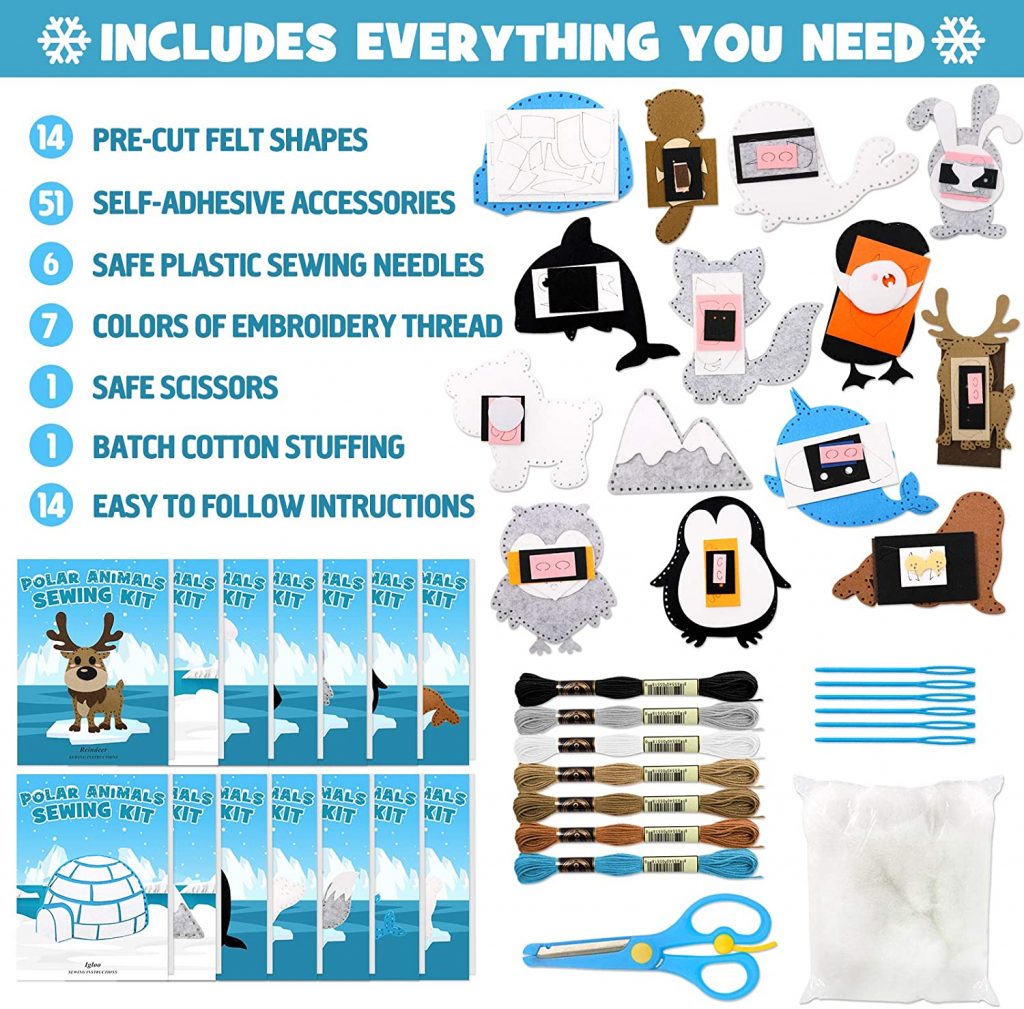
Pre-Punched & Pre-Cut Felt: This kit is where all the previous skills meet! The child has mastered needlework and needle handling and is now ready to sew two pieces of felt together to create a little 3-D animal. It is challenging (and frustrating) for a young child to cut out two identical shapes that will be sewn together. These animal kits relieve the child of that task and keep the first actual sewing experience very simple and fun. This brand, Ciyvolyeen, has a lot of themed kits to choose from too, such as; sea animals, safari jungle animals, polar animals, dinosaurs, puppies, etc. *Reviews seem to show that the adhesive accessories require extra help and additional glue. I did not personally purchase one of these kits, but I wanted to include the concept of a pre-cut kit.* A few ideas for this kit…
- turn them into Christmas ornaments by adding little hats, jingle bells, pompoms, puff paint, etc.
- put them all on a string to make a garland for the child’s room
- have the child make them as gifts to give to friends & family
- glue on googly eyes for extra craziness
- look up the names and fun facts for each animal as they are completed
- trace the pieces onto paper before gluing them if you want to have a template to make a pair
BIG KIDS: 8-10 YEARS
You are going to need a craft box because you’ve unlocked the unlimited project level. Ha! Anything and everything is about to get sewn and stitched. This is so fun!
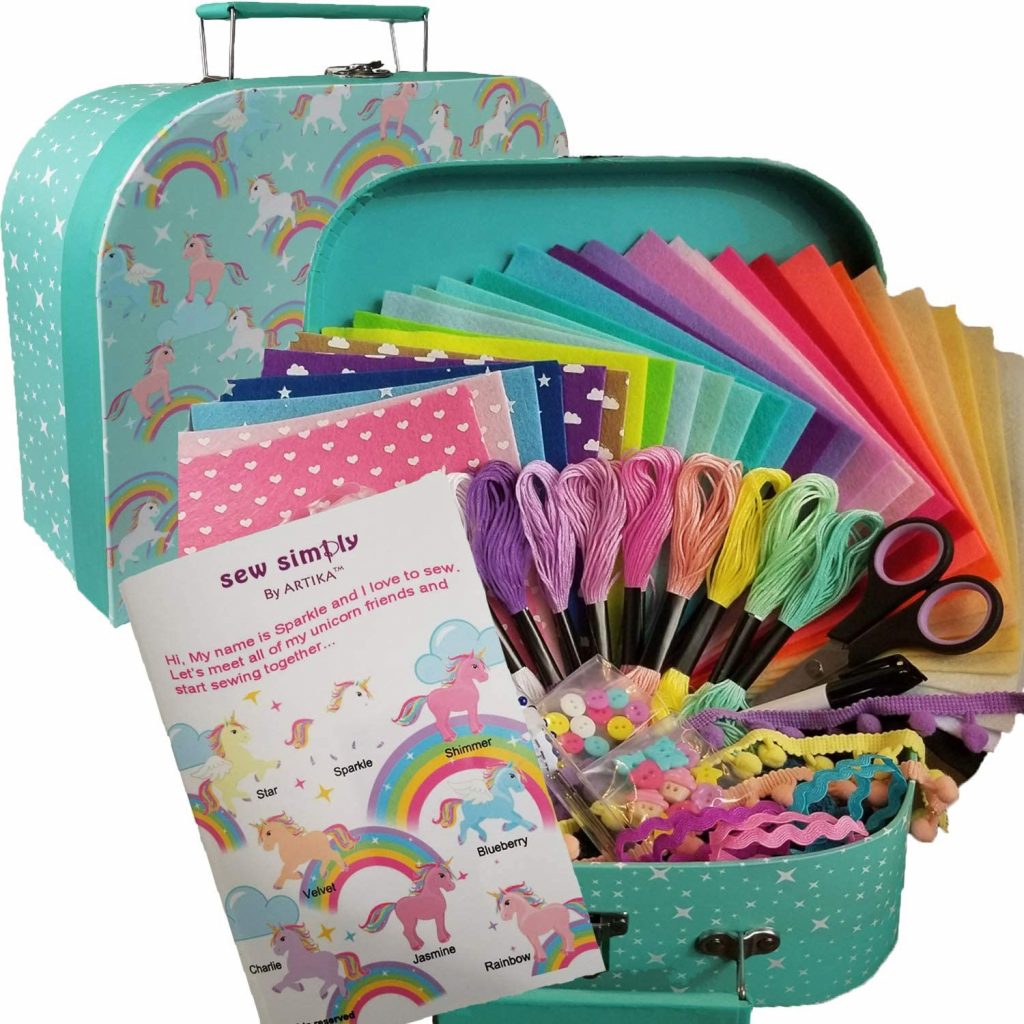
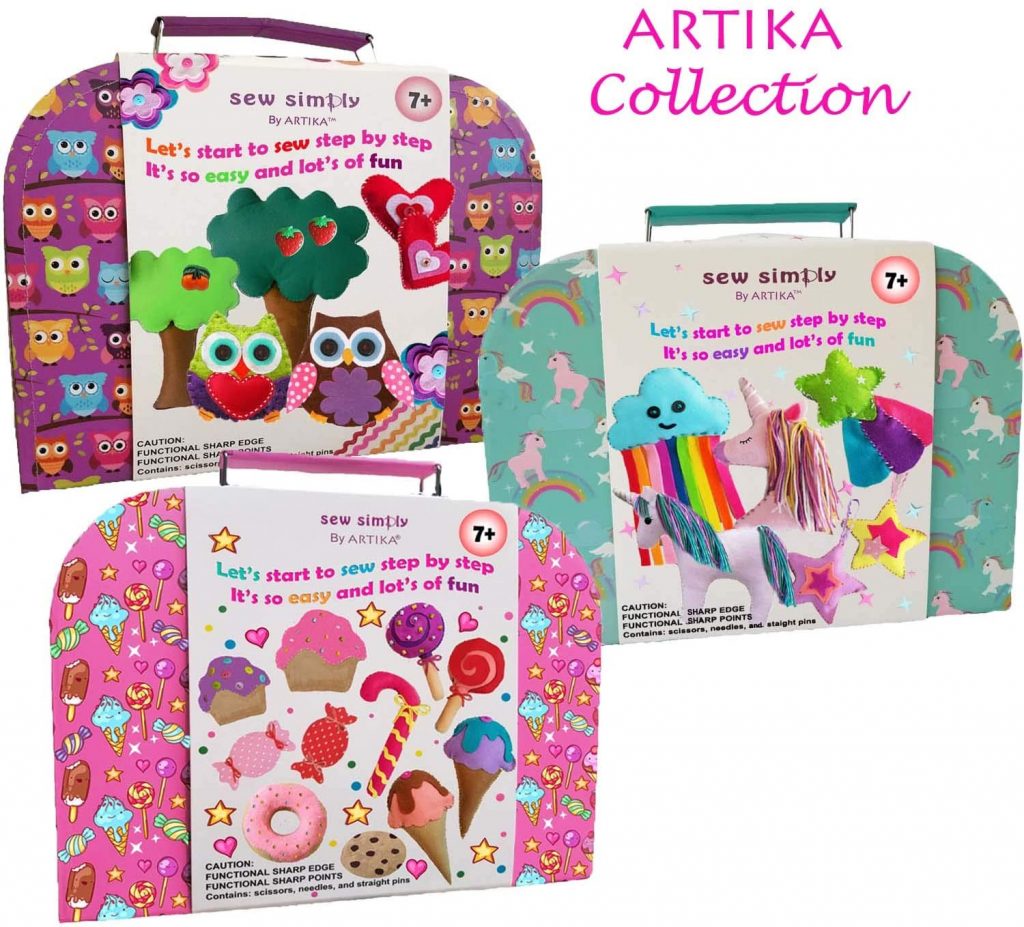
Get the Kit: The little kids get the pre-cut kit and the big kids get the do-it-yourself kit. The animals shapes will be traced onto the felt sheets and cut out. At this age the child will have the patience to work through the challenges of cutting out their own shapes. They can even decide to make something different from the instructions or do something creative with the scraps. You will be amazed at what treasures await and they are truly one-of-a-kind. As they use up the supplies that were provided they can begin adding their own extra items. New felt colors, unique buttons, thread/floss, pins, fabric scraps, etc. My oldest daughter’s sewing box has completely changed into a very personal assortment of supplies and tools. Things you may want to consider adding to this kit…
- pins or Wonder Clips
- a pin cushion
- higher quality scissors
- cotton fabric
- thread
- longer pieces of ribbon
- craft barrette hair clips

A Sewing Story: The Mary Frances Sewing Book is a three-in-one book. You get a story, sewing lessons, and project patterns. There are many doll clothing patterns that are sized for American Girl dolls or other 18-inch dolls. Concepts learned in this book…
- different hand stitches
- learning about needles, thread, and cloth
- techniques, such as: gathering, buttonholes, seams, etc.
- patching and darning
- and much more!
PRETEENS: 11+ YEARS
We’ve reached the stage of self-directed learning. Their skills and confidence have been built and they are ready to tackle projects of their own imagination. At this level I would let them pick individual supplies rather than kits. Let me elaborate below.


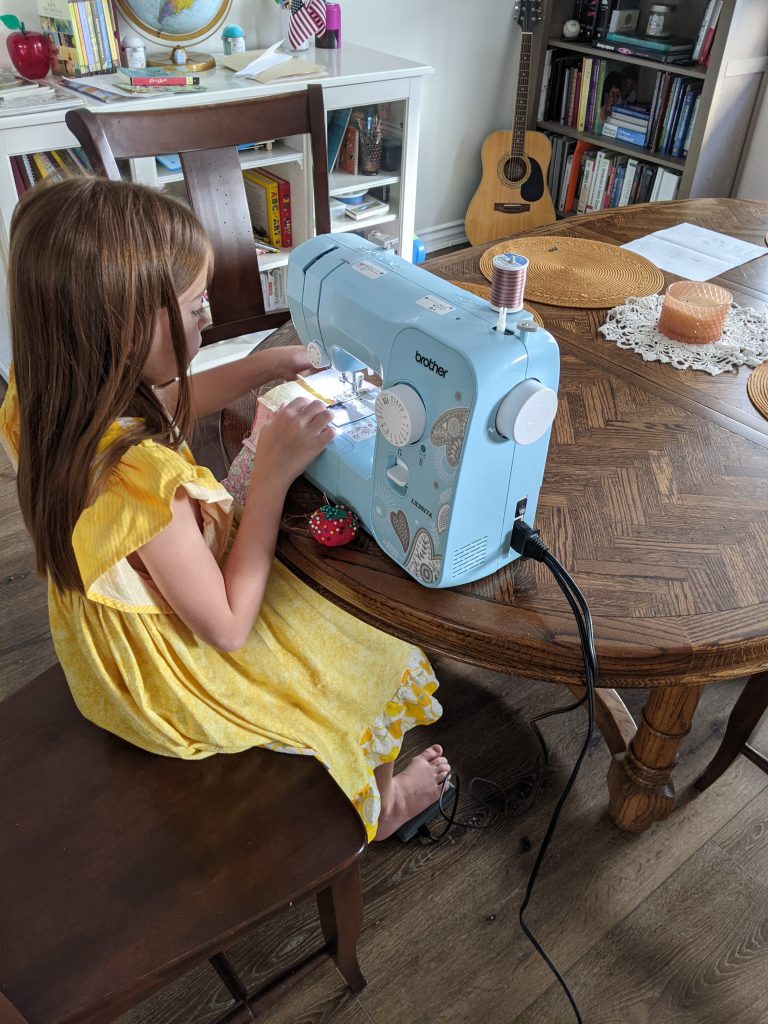
Drumroll… Their First Sewing Machine: I think eleven is a good age for autonomous use of a sewing machine. Before then, you’ll need to make sure they don’t sew through their finger (hey, once you’ve seen a picture of that it makes you nervous). I gave this sewing machine to my daughter at 7 years old, but she uses it with supervision and a mini-lesson on hand placement every time. I do not recommend getting a toy sewing machine. I think it is a waste of money. A simple starter sewing machine will give so much more over the years. They can learn with it and take it with them into adulthood. I know this from personal experience. I got my first sewing machine as a 13 year old girl and used it until I was a 23 year old new mother.
Thready, set, go: Learn about thread. The fiber content, when to use the different types, what makes it high quality vs. poor quality, etc. My most commonly used thread is polyester Gutermann. Purchase black and white thread and a few favorite colors.
Snip-snap: Fabric scissors are a must, but which ones should you get? I have a full sewing scissor review if you want to learn more about them, but here I’ll recommend the classic Fiskars. This particular pair is the 7-inch “petite” size. I think they work well in a child’s hand and they are good quality. Get the 8-inch pair for a teen. Establish the golden rule of scissors from the start; you must only cut fabric with fabric scissors. No paper, no Velcro, no wired ribbon, no tape, no hair, etc. Don’t cut fabric with craft or kitchen scissors. Just try it yourself and you’ll know why, you’ll feel why. Scissors are a serious topic, haha!
Clean cut: If they are interested in quilting or a project that requires long straight cuts then consider a self-healing cutting mat and rotary cutter. This makes so many fabric cutting tasks so much easier. For me personally, this is an essential tool in my kit, but I would only advise it be used by a competent child if there is a purpose for it. A rotary blade is very sharp and can slice your fingertip in a bad way. Always use an acrylic ruler as a guide and watch out for fingertips.
You can check out my Amazon Storefront for more sewing tool recommendations.
Here are a few sewing projects for the preteen stage:
- reusable cotton napkins for lunches
- scrunchies with bow options
- zippered pouches for pencils, makeup, etc.
- custom pajama set copied from their favorite tank top and pajama pants (experience or help needed)
- a tote bag for anything and everything (skip the pockets if you need to)
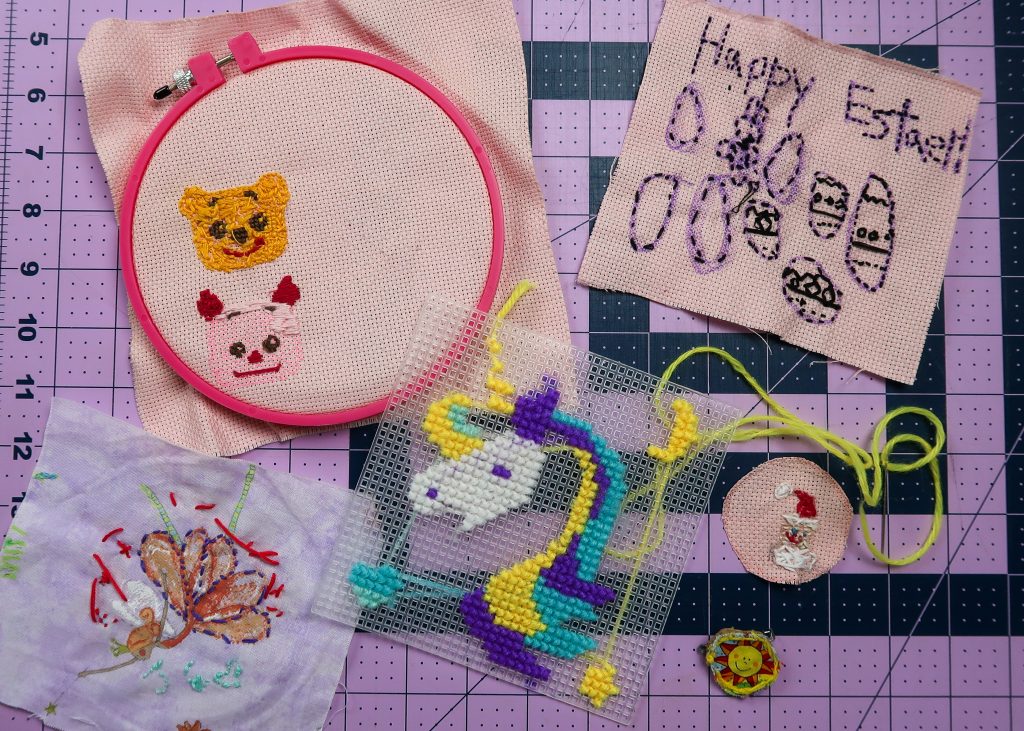
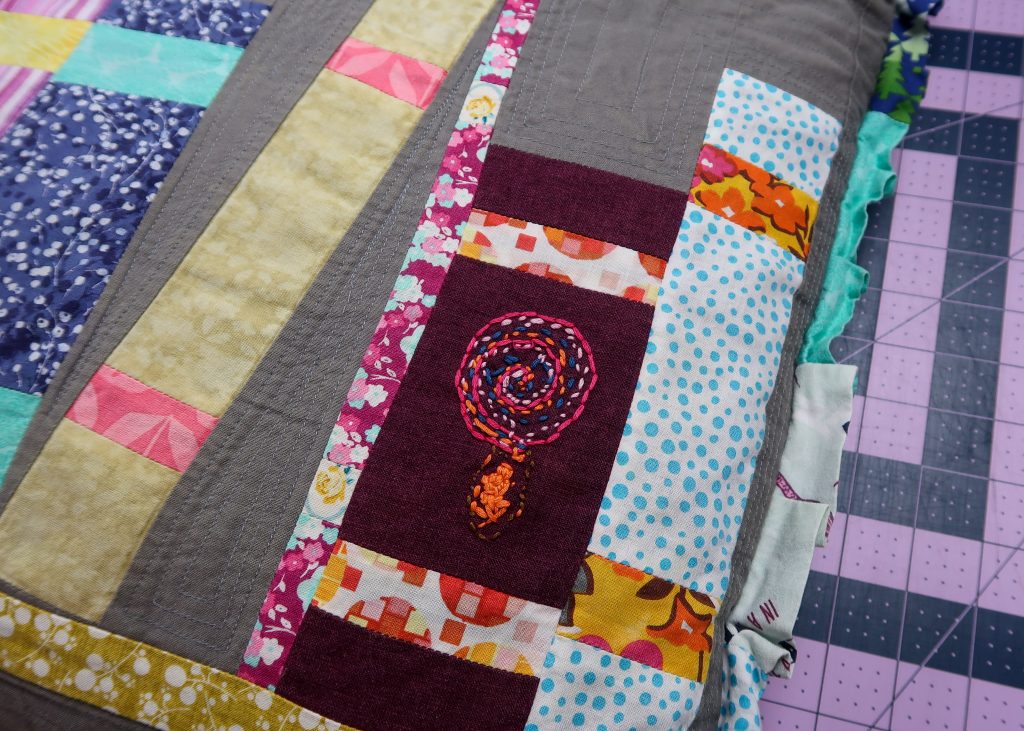
Here are a few photos of our sewing projects!

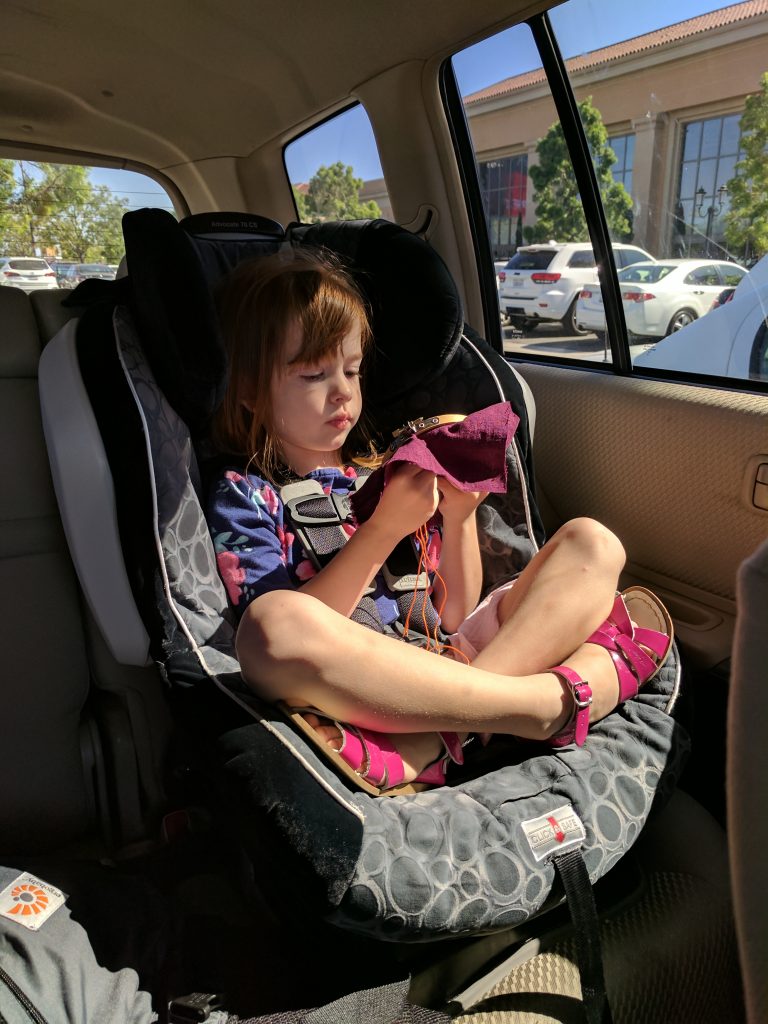
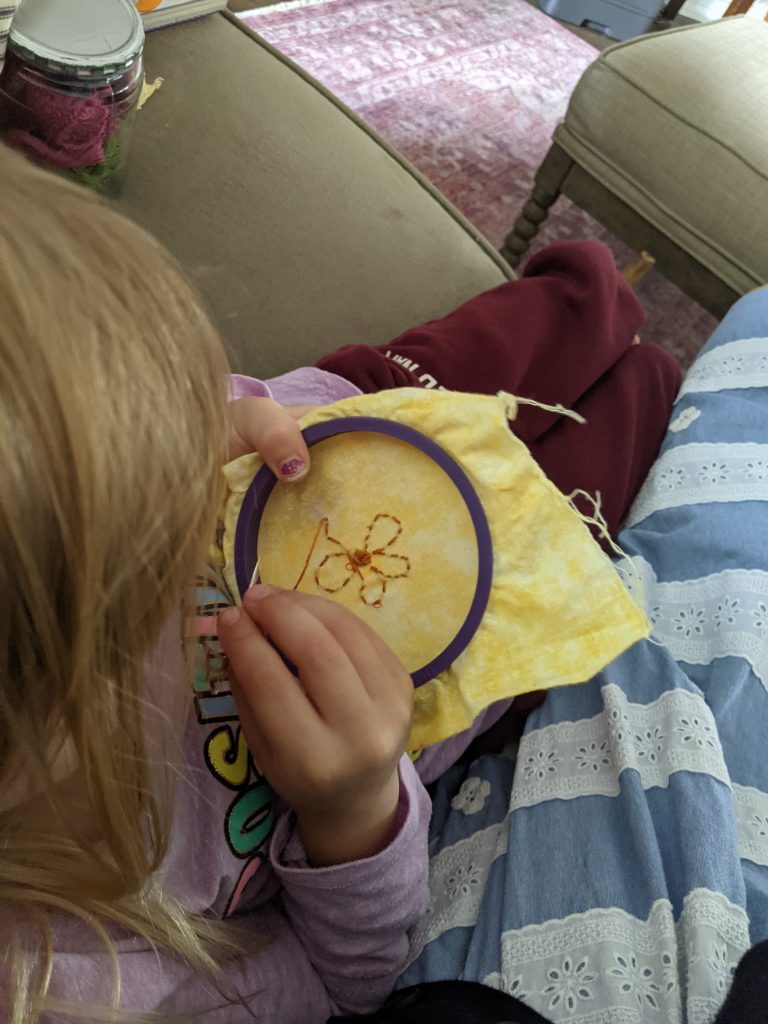
Ezra stitching with a metal needle at age 4.5. 
Jane stitching with a metal needle at age 4.5.
In the photos above you can see both of my daughters embroidering cotton fabric with embroidery floss. Ezra was making up her own design and Jane was following the lines of a flower I drew with erasable ink.


Ezra working on her mini quilt at age 8. 
Ezra sewing a pom-pom blanket at age 7.
“Go get creative and make something you love… with your kids!“
-Paige




Hi.
Nice one.
Pls how can I get the kit and the cost am in canada.