Selecting a Stitch
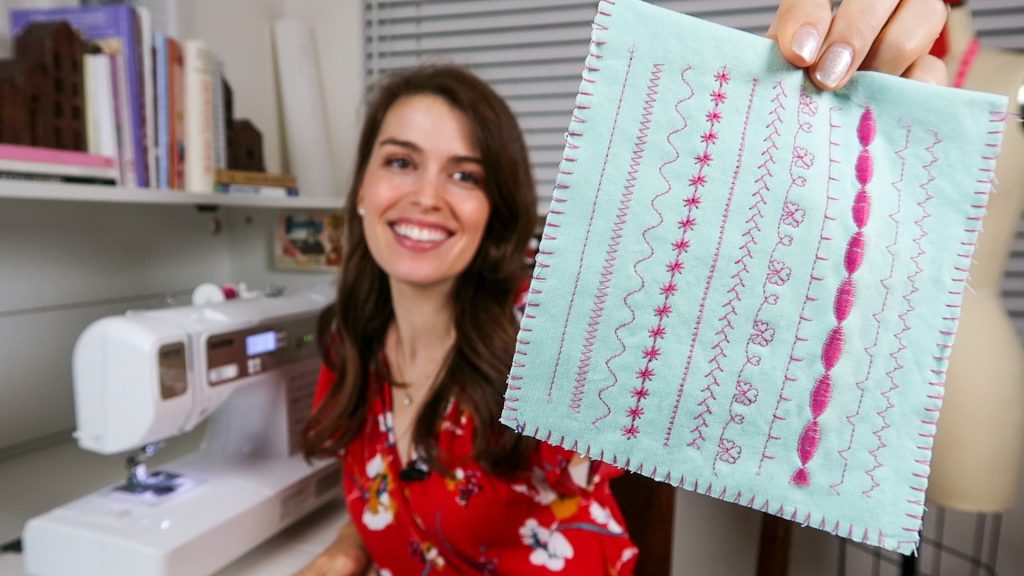
Sewing machines can come with a large assortment of stitch options. You’ll see some with *50 stitches, *110 stitches, *240 stitches, and many other varieties. The sewing machine I demonstrate on is a Brother SQ9185. It is an older model and the most similar model is the *Brother HC1850. The stitches serve many different purposes, but let’s start at the beginning. *affiliate
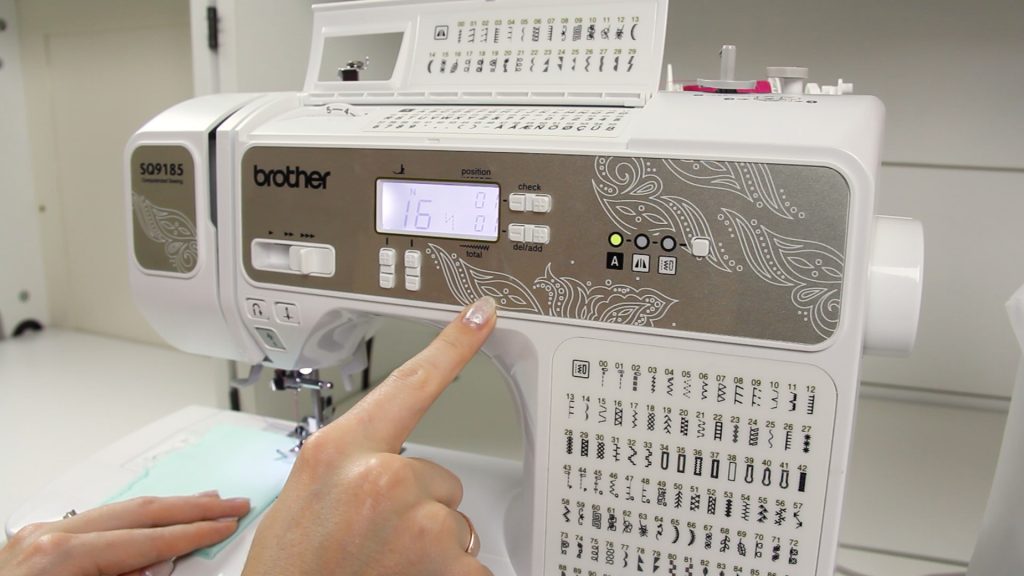
Input the number of the stitch by using the plus or minus buttons. As you see here, the number 04 corresponds to the zigzag stitch.

The LCD screen will indicated which presser foot corresponds to the stitch you select. The “J” above 00 refers to the “J” presser foot.

Stitch Length & Width
This dashed line refers to the stitch length. On this machine, when the dashed line has a circle around it, it means the standard stitch length is selected. You can increase or decrease the length of the stitch.

In this stitch comparison, the stitches in the top line are very small. The stitches in the bottom line are long. The long stitches are often used for gathering or basting.

The zigzag line refers to stitch width. You can increase or decrease the stitch width for certain stitches; such as, a zigzag stitch. You can’t change the width of all stitches. In the photo below, the straight stitch “00” is selected and the stitch width reads 0.0.

Here is an example of gradually increasing the stitch width for a zigzag stitch. As you increase the stitch width you may need to adjust the thread tension.

Creating a Mirrored Stitch
You can create a mirror image of some stitches by changing the stitch indicator light to the mirror image setting and selecting the stitch you want.


Selecting Characters
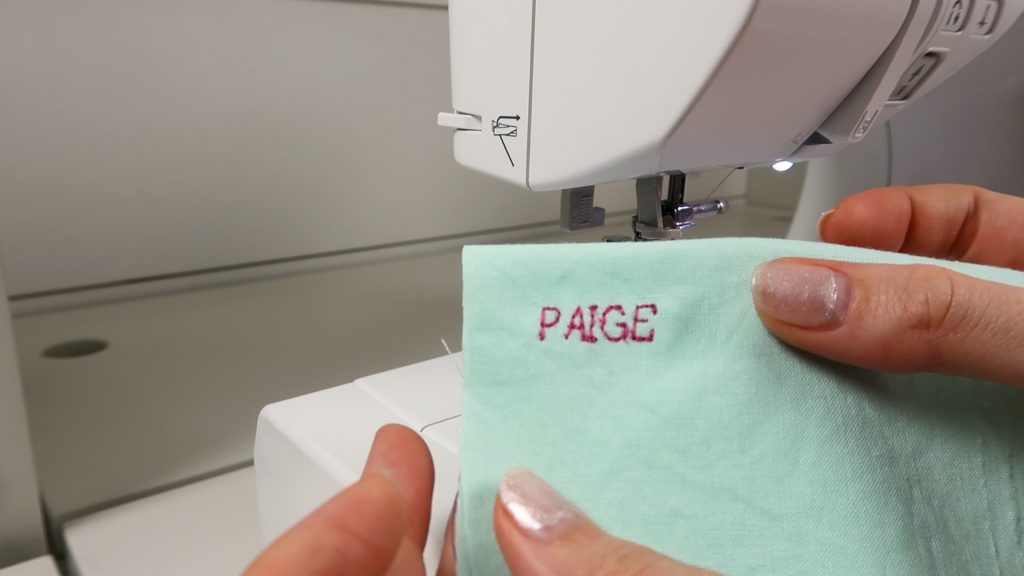
First, move the stitch indicator light over to the character setting. Next, select the number that corresponds to the letter or number you want and press the button labeled “add”. That first letter is in position 01. Select the number for the next letter in the word sequence that you want to make and press “add”. The next letter will be in position 02. Repeat that process until you have programmed the entire sequence.

When the sequence is completed you can begin stitching. Press the foot pedal down and the machine will stitch all the programmed characters. When it is completed clip the threads that are left between the letters.

Stitches and Their Purposes
In the variety of stitches you will find straight stitches, zigzag stitches, overcasting stitches, blind hem stitches, buttonholes, stretch/elastic stitches, applique stitches, decorative stitches, and characters. This Brother sewing machine user manual shows a full appendix of stitches and their applications on pages 83-92.
In future tutorials I will personally be going over techniques where these stitches are used. Until then, go get creative and make something you love!
i have a brand new brother XR9550PRW. just opened it today. is there a way to make the letters and numbers larger?
No, there isn’t. It is a basic set of numbers and letters in one size.
Hi I don’t have a manual for this machine but I was wondering if you could tell me how to sit the numbers for the button hole