Here is one technique in a 5-part series on how to finish seams.
- What is Seam Allowance?
- French Seams
- Hong Kong Seams
- Serged Seams
- Flat Felled Seams (You’re here!)
A flat felled seam probably isn’t the first seam finish you will learn, because it isn’t the most common to use. However, it is a great seam finish in certain projects. Two common places you will see a flat felled seam is on jeans and men’s dress shirts. It makes a strong and nicely finished seam.
Flat Felled Seams (written tutorial)

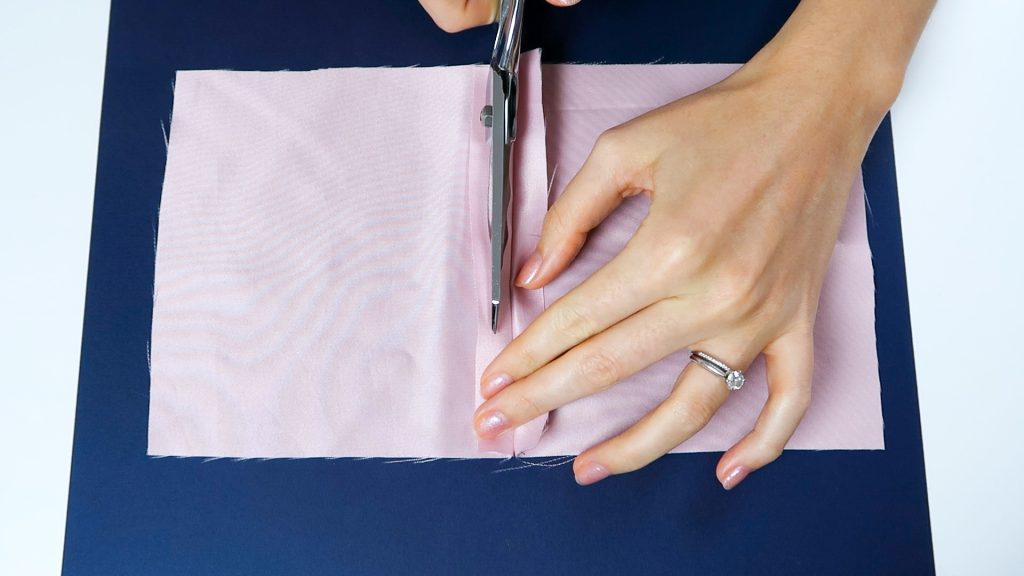
1. Place your fabric pieces together with right sides touching. Stitch with the seam allowance called for in your pattern (5/8″ in this case).

2. Trim one side of the seam allowance by half.

3. Fold the larger seam allowance over and around the shorter seam allowance and press.

4. Stitch close to the folded side of the seam allowance. This encapsulates the raw edges. Give the seam a final press.

5. The flat felled seam is finished. From one side you will see two stitching lines and from the other side you will see one stitching line.

I recommend trying this technique on a swatch with a straight seam before trying it on a project, especially with a curve. The armscye of a dress shirt looks nice with this finish, but it takes a bit of practice and finesse. Don’t be afraid to try it, but do make a sample first. It doesn’t even need to be a full muslin, just make the shoulder portion of the pattern.
Have fun while learning something new!
[…] Flat Felled Seams […]