

“Then she got an idea. An awesome idea. Paige had a wonderful, awesome idea.”
-The Grinch Narrator
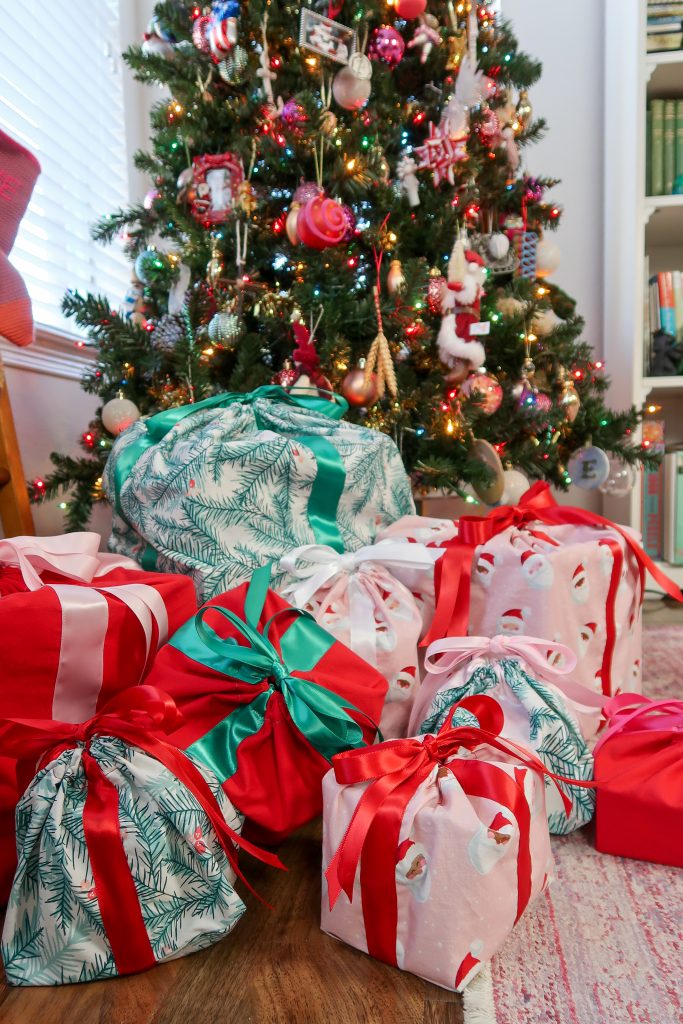
One day I thought to myself, “Why have I never seen a gift bag that looks like a wrapped Christmas present?” I could see it in my mind and was confident it was possible. I wrote some plans, calculated the measurements, and made the bag. It turned out exactly as I had hoped, maybe even better.
This gift bag is so versatile. It truly can be made to fit any present. My husband thinks it is genius because he never has to wrap a present again. For those of you who are looking for ways to reduce waste this project is literally a gift that keeps on giving year after year. I am planning on “wrapping” presents in the bags I made and giving some and keeping some too. I’ll pack them away and bring them out next year. Most exciting of all, I get to share the tutorial with you! Merry Christmas from Elf Paige!

Materials You’ll Need
- fabric (amount varies depending on the size; see below)
- ribbon (double-faced satin is my favorite)
- thread (matching the ribbon)
Exact Fabric Links (gifted by Fabric.com)
Tools Used
- cutting mat, ruler, rotary cutter
- scissors
- iron
- buttonhole foot
- bodkin
- lighter
- seam ripper or buttonhole cutter
- pins
- fabric pen or chalk
- Fray Check
Sizes
finished bag size / fabric cut
5×5″ / 12×24″
6×6″ / 14×28″
7×7″ / 16×32″
8×8″ / 18×36″
9×9″ / 20×40″
10×10″ / 22×44″
& so on… (follow the 2×4″ increase pattern)
I was able to make 3 bags from one yard of fabric. One 10×10″. Two 5×5″.
Video Tutorial
Photo Tutorial

Step One: Cut out your rectangle of fabric. -OR- As you see in the photo, I have cut two squares. I did this so I could turn the directional print on half of the bag, so the Santas would be right-side-up. Add 1 inch to the length of the rectangle if you plan on using a directional fabric. Cut it in half and turn. You now have a 1/2″ seam allowance.

Step Two: Sew the bottom seam. Press the seam. Fold the rectangle in half length-wise and press. The pressed line is a guideline for the ribbon.

Step Three: Cut a piece of ribbon the length of the rectangle (plus a little bit extra on each side).

Step Four: Pin the ribbon down the center line of the rectangle. Use the fold to keep the ribbon centered.

Step Five: Stitch the ribbon down on each side to secure it to the fabric. In the photo you can see the stitch line from the backside. Use thread that matches your ribbon.

Step Six: Fold the rectangle in half with right sides together and sew the side seams. This creates a pouch. If you did not sew a bottom seam you will need to press the bag to create a guideline along the bottom of the bag.

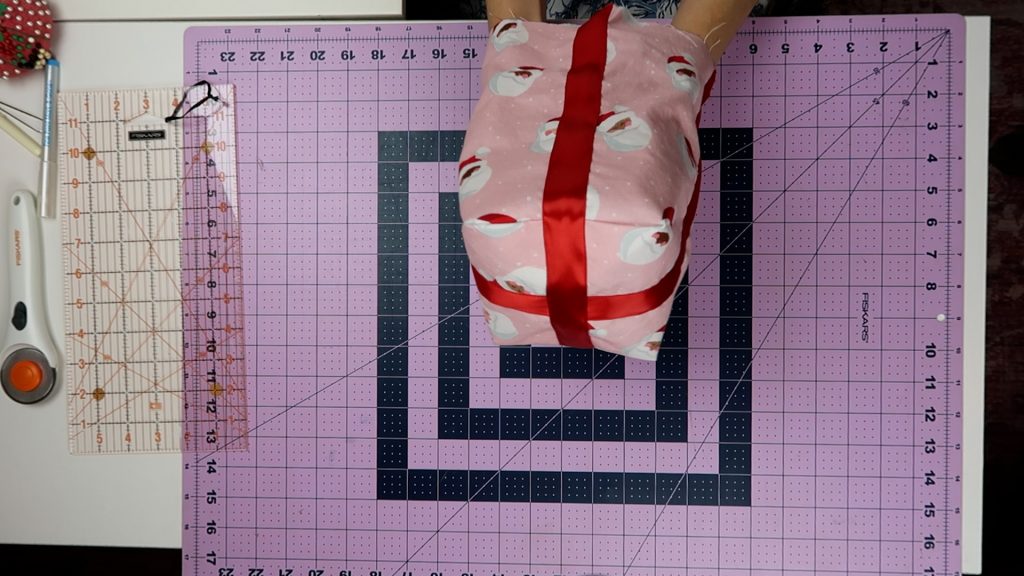
Step Seven: Open the bag and match the side seams to the bottom seam/fold. This will make corners in the bottom of the bag (like in the photo). Use the 45 degree line on a ruler to measure the corner. You can see here that I am measuring a 4-inch line at the corner. Mark this line with a pen or chalk.

Step Eight: Stitch along the marked line on both sides. The result is a boxed-out bag.

Step Nine: This is the trickiest step, but the larger the bag the easier it is. We will sew the other length of ribbon down the side seam, along the bottom, and back up the other side. I do not pin this length of ribbon in place. I just work slowly. This is how: align the ribbon, centered with the side seam. Begin stitching down one side. Work slowly, making sure that the seam is completely open and flat. Work in 2 inch sections.

Step Ten: Keep the first corner pointed down. It will be pointed to the bottom center of the bag.

Step Eleven: Before you sew the bottom of the bag tuck the other corner under. Both corners will be pointed toward the bottom center of the bag. I think this gives the bottom of the bag more stability.

Step Twelve: Continue sewing up the other side.

Step Thirteen: Turn and sew along the other side of the ribbon in the same way as before.
Step Fourteen: Turn the bag right-side-out and it will look like this. The ribbons are seamless and beautiful!

Step Fifteen: Measure 1.5″ down from the top of the bag and mark a small dash. I found chalk to be the best for marking the ribbon. Marker bled and didn’t create a clear point.

Step Sixteen: You will sew a buttonhole for the ribbon ties to pass through. If you can, use an automatic buttonhole foot. Set the buttonhole big enough to fit the ribbon ties, but not too big. 5/8″ is a nice size. I found that the buttonhole came out best when I sewed them into sides where there was no seam.

Note: The buttonhole mark that was 1.5″ from the top is the top of the buttonhole. The seam allowance is 1.5″ and the buttonhole must not be in that space.

Step Seventeen: Open the buttonhole with a seam ripper or buttonhole chisel.

Step Eighteen: Use a lighter to melt the loose fibers of the ribbon (if it is polyester). Be cautious and use a light hand. Don’t over melt the fibers.

Step Nineteen: I add Fray Check to the buttonhole stitches for extra security and clean finishing.

Step Twenty: Fold 0.5″ and press. Fold another 1″ and press. This creates the casing for the ribbon.

Step Twenty-one: Stitch close to the folded edge. Stitch all the way around.

Step Twenty-two: Measure a length of ribbon long enough to go all the way through the casing with at least 5″ tails. The ribbon in the photo is doubled (folded).

Step Twenty-three: Use a lighter to gently melt the end of the ribbon (polyester only). This will prevent the ends from fraying.

Step Twenty-four: Use a bodkin to guide the ribbon through the casing. The ribbon will go into the buttonhole, around the casing, and back out the same buttonhole.

Step Twenty-five: Repeat with another length of ribbon in the other buttonhole. Now pull to even out the ribbon ends.

Finale: Pull the ends and tie a big pretty bow!

Go get creative and make *a gift bag* you love!
-Paige
Leave a Reply