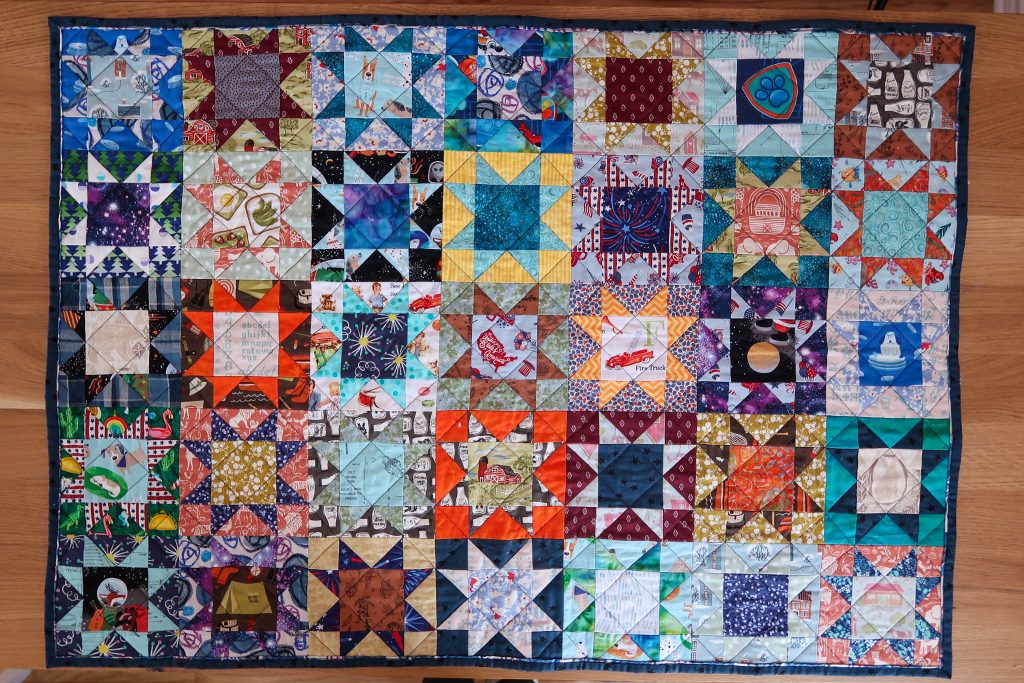
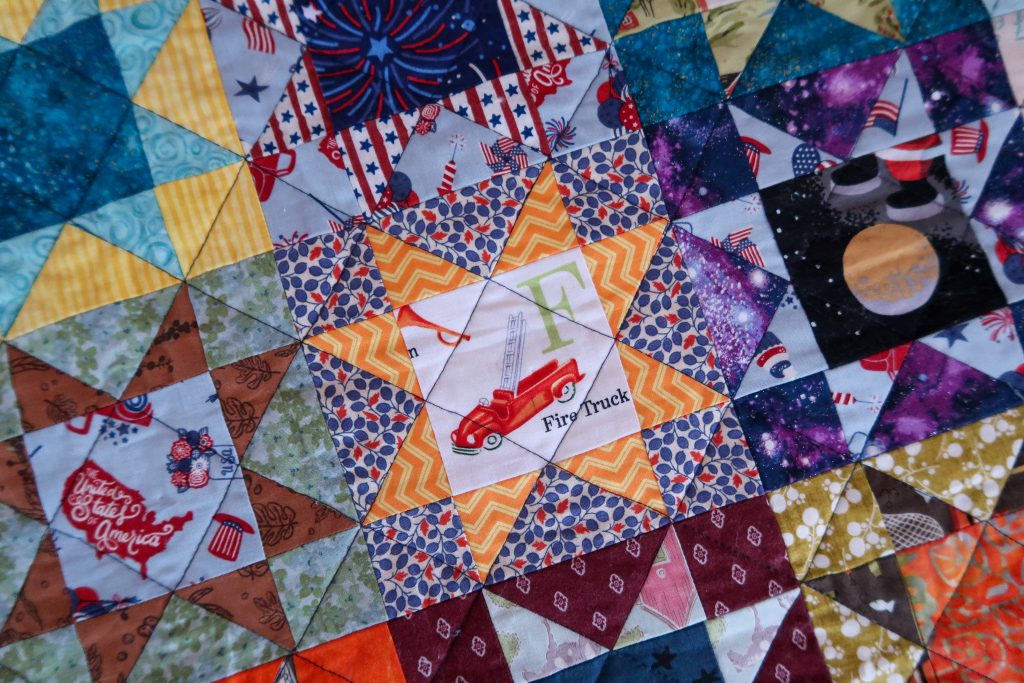
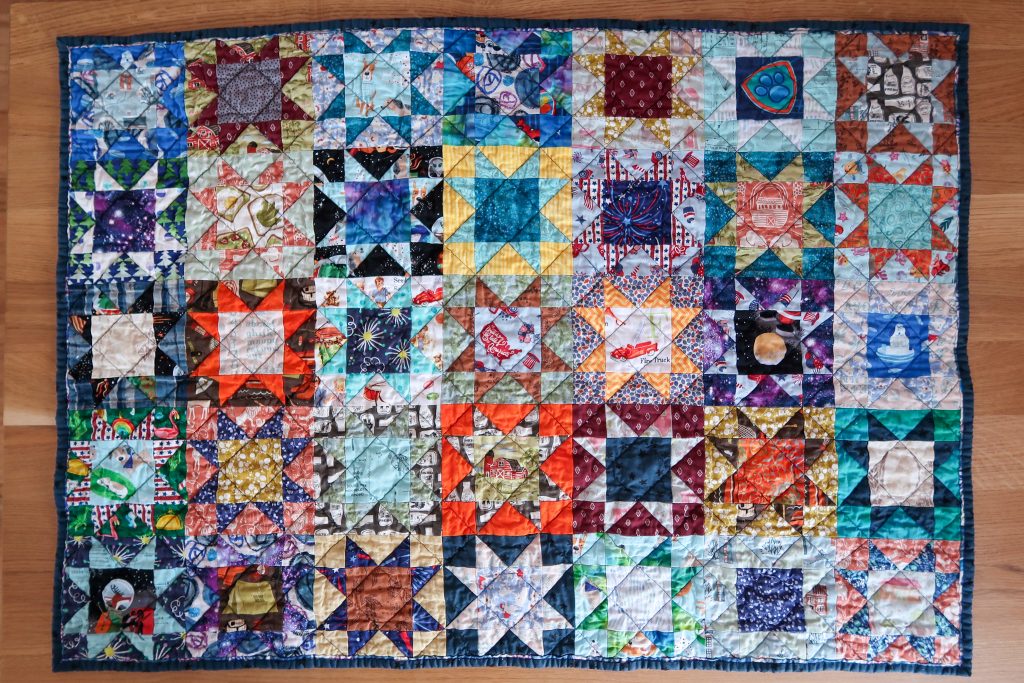
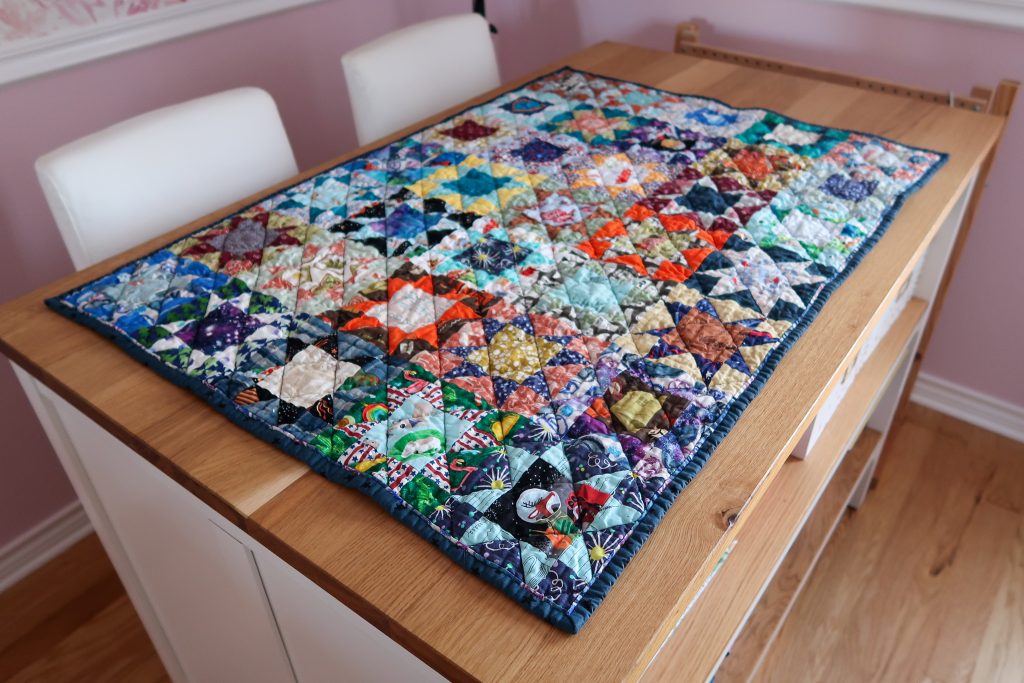
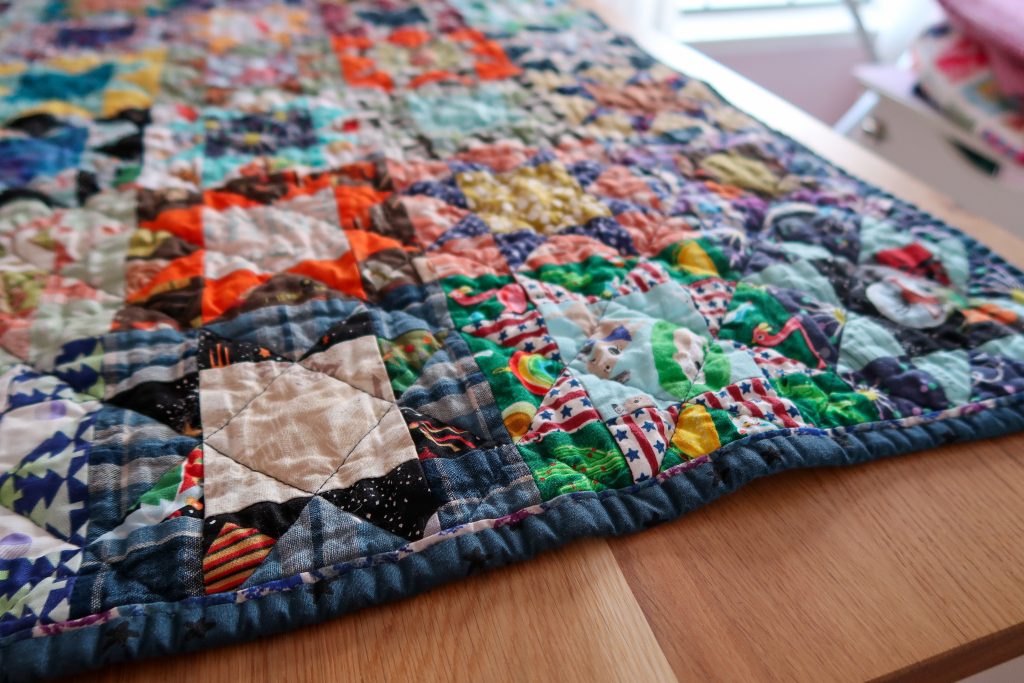
I have made each of my daughters a special quilt and now I’ve made one for my baby boy, George. He recently turned 1 and is still in a crib, so I decided to make him a crib/cuddly sized quilt. I wanted it to be very busy with lots of boyish fabric prints. I rummaged through my collection of quilting cottons and bought a few fat quarters from a local fabric shop. There are a lot of memories collected in this quilt through the fabrics. Many have been used in other projects like one of my daughter’s quilts, shirts for my husband, one from my quilt on my bed, etc. I fussy cut a lot of the fabric to highlight images in the fabrics. Some of the blocks are arranged with a theme and others are arranged based on contrast. This was a very playful design… energetic, bright, entertaining. Just like boys. I do hope he finds this to be very interesting to look at as he gets older and we use this as we would a first words book. *point* “Firetruck. Barn. Alien. Dog. Moon.”
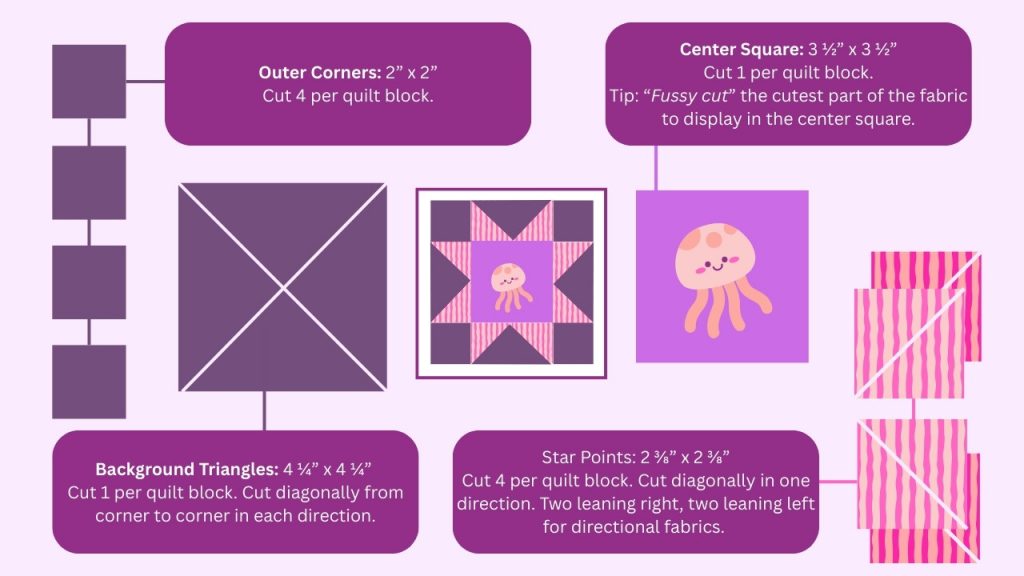
Here is quick guide to cut sizes of the pieces I used to make these sawtooth star quilt blocks.
This post isn’t an in depth tutorial for this quilt, but I’ll include some of the unique details. If you want a more in-depth look into my process for making a quilt check out this video playlist. I documented the entire process of making my daughter’s quilt. You can see other large quilts I’ve sewn here.
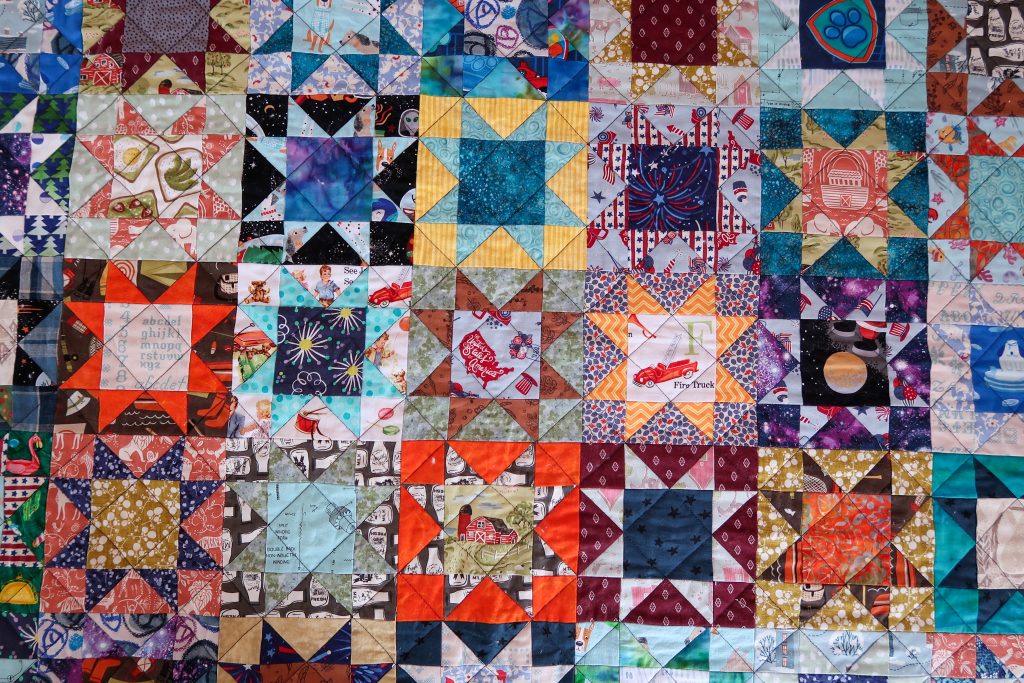
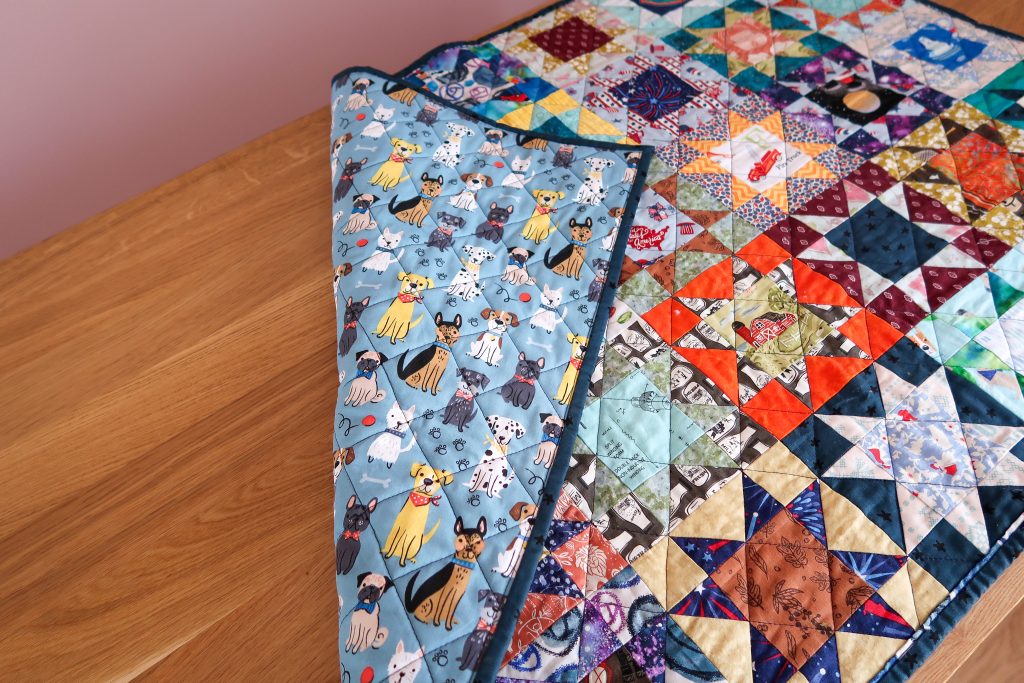
The quilting pattern I followed was using the diagonal lines of the stars. I used navy blue thread for high contrast. As a side note (but hopefully helpful), my quilting foot wasn’t gripping my fabric well and wasn’t functioning as it has in the past. I’ve used it for many giant projects, so maybe it just wore out. Anyway, I bought a new walking foot and it was a night and day difference. The new foot works exactly as it should. Problem easily and inexpensively solved. In that order I also added fresh grippy gloves. They make quilting so much easier.
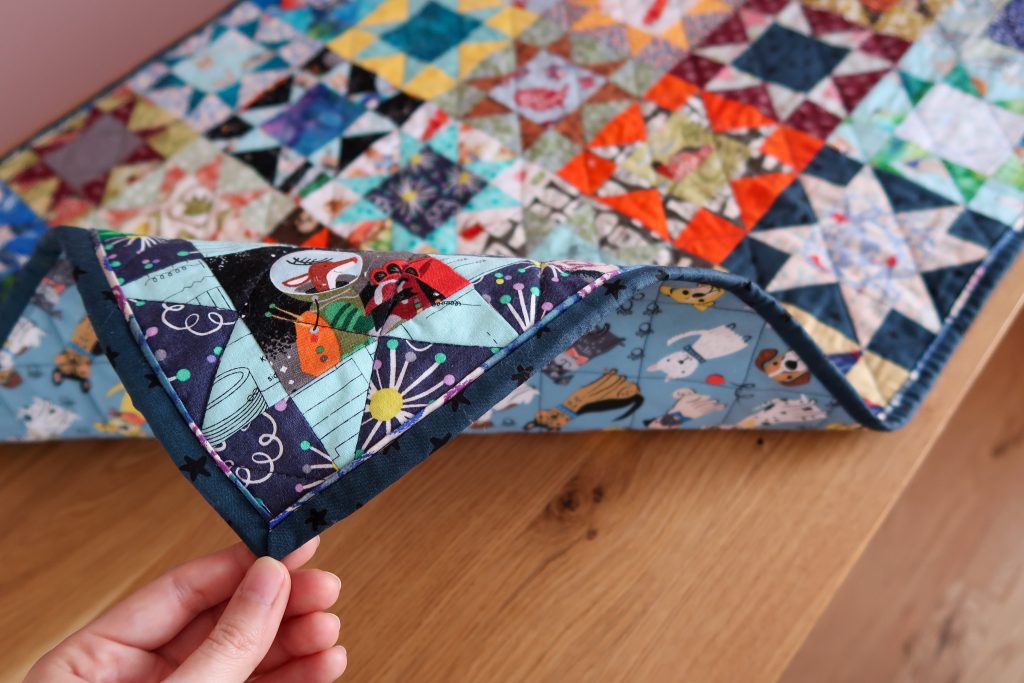
I strayed from my usual quilt binding process and tried a flanged binding. The flange fabric is cut 1/4″ wider the the main binding fabric, sewn together, and pressed with the cut edges even. The fold leaves 1/8″ of the flange fabric exposed on the front side. I attached it to the back of the quilt first then wrapped it around to the front and stitched it down through the flange fabric. No hand sewing for this binding. I think the widths I used for the binding was 1.5″ for the main binding and 1.75″ for the flange fabric.
Before & After Washing
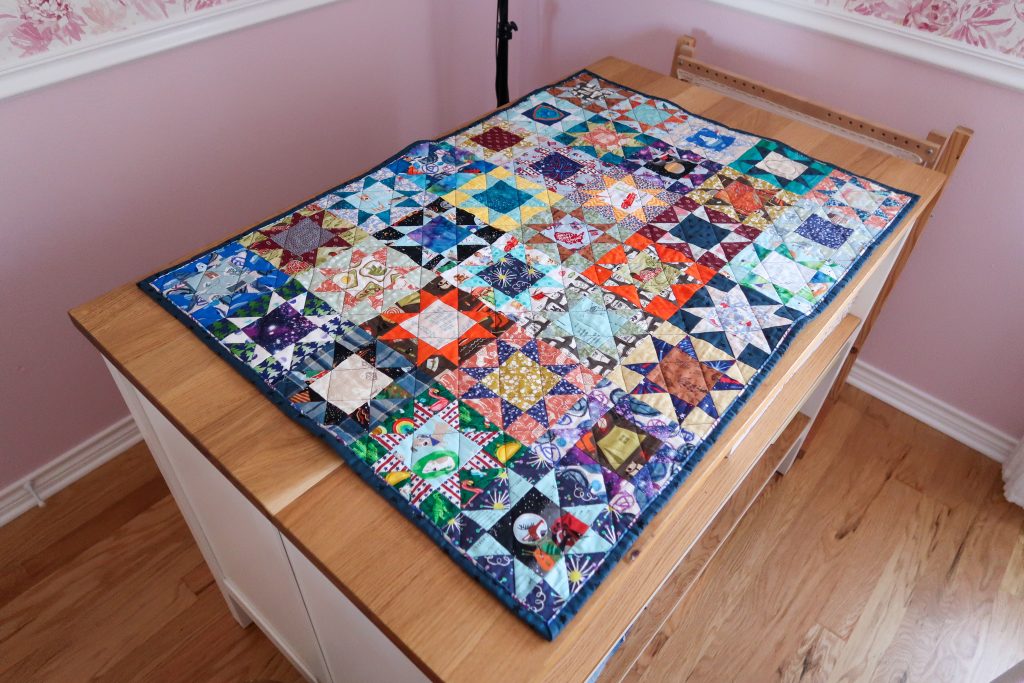
Before I call a quilt finished it needs to be washed and dried to get the crinkle. I prewash all of the fabric because I don’t like the smell and it preshrinks the fabric. The crinkle comes primarily from the cotton batting shrinking in the wash and dry process.
Happy Quilting!
-Paige
Leave a Reply